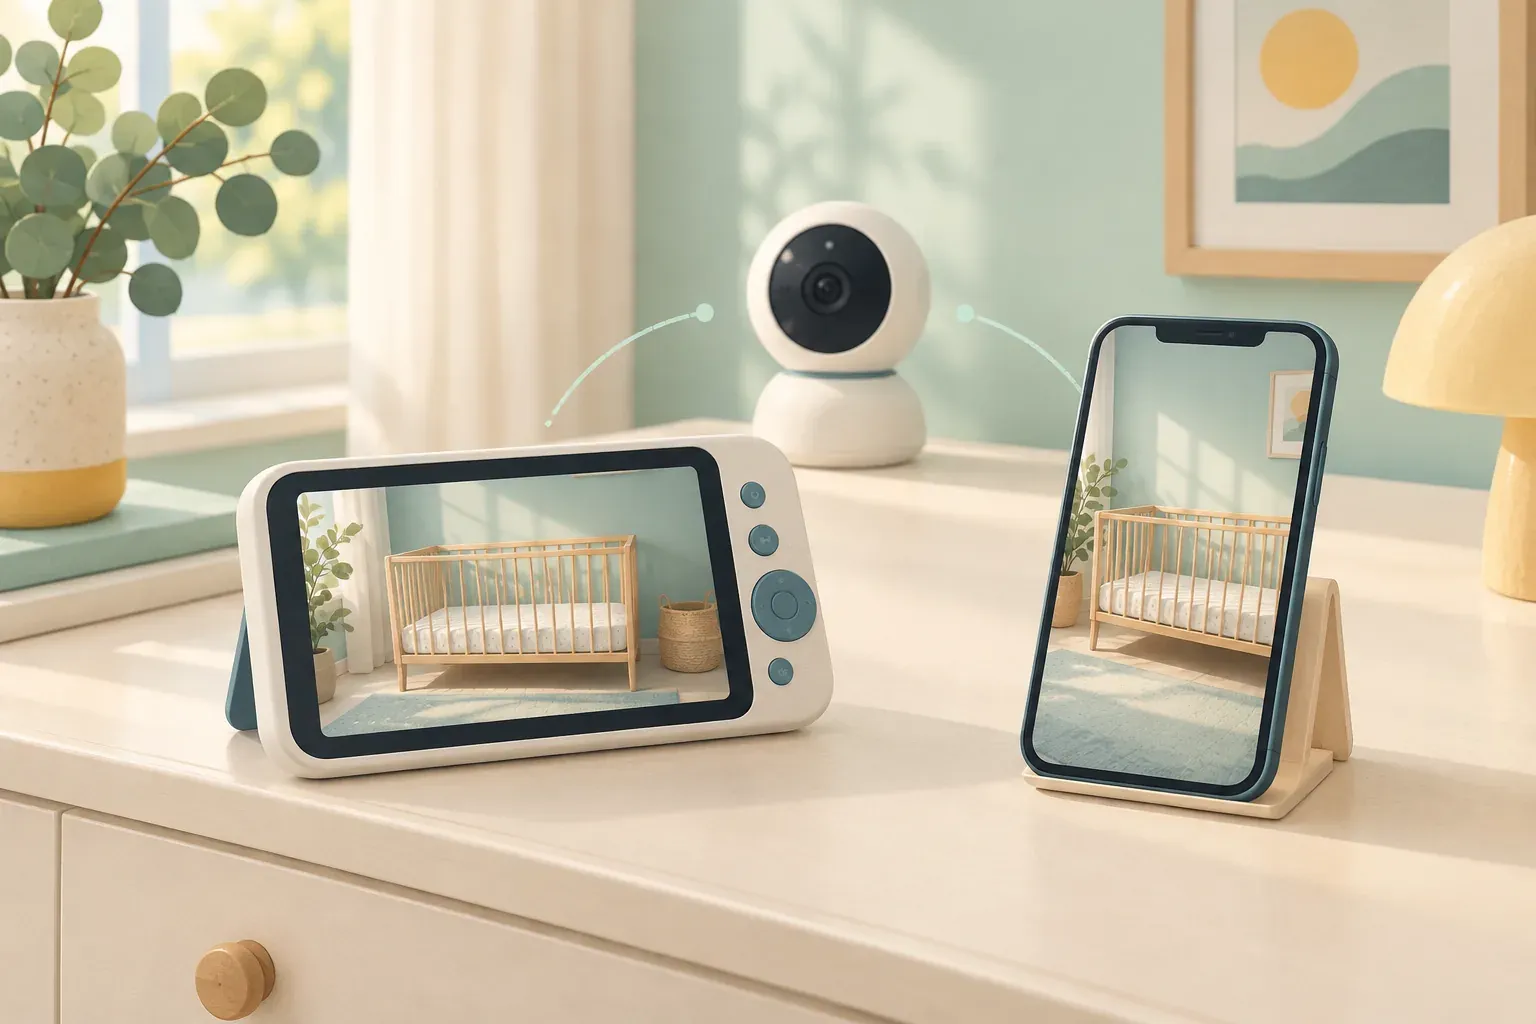
A monitor can connect successfully on your kitchen table and still leave you with unanswered questions: where will the camera go, which screen will you use, and what should another caregiver do when the picture disappears?
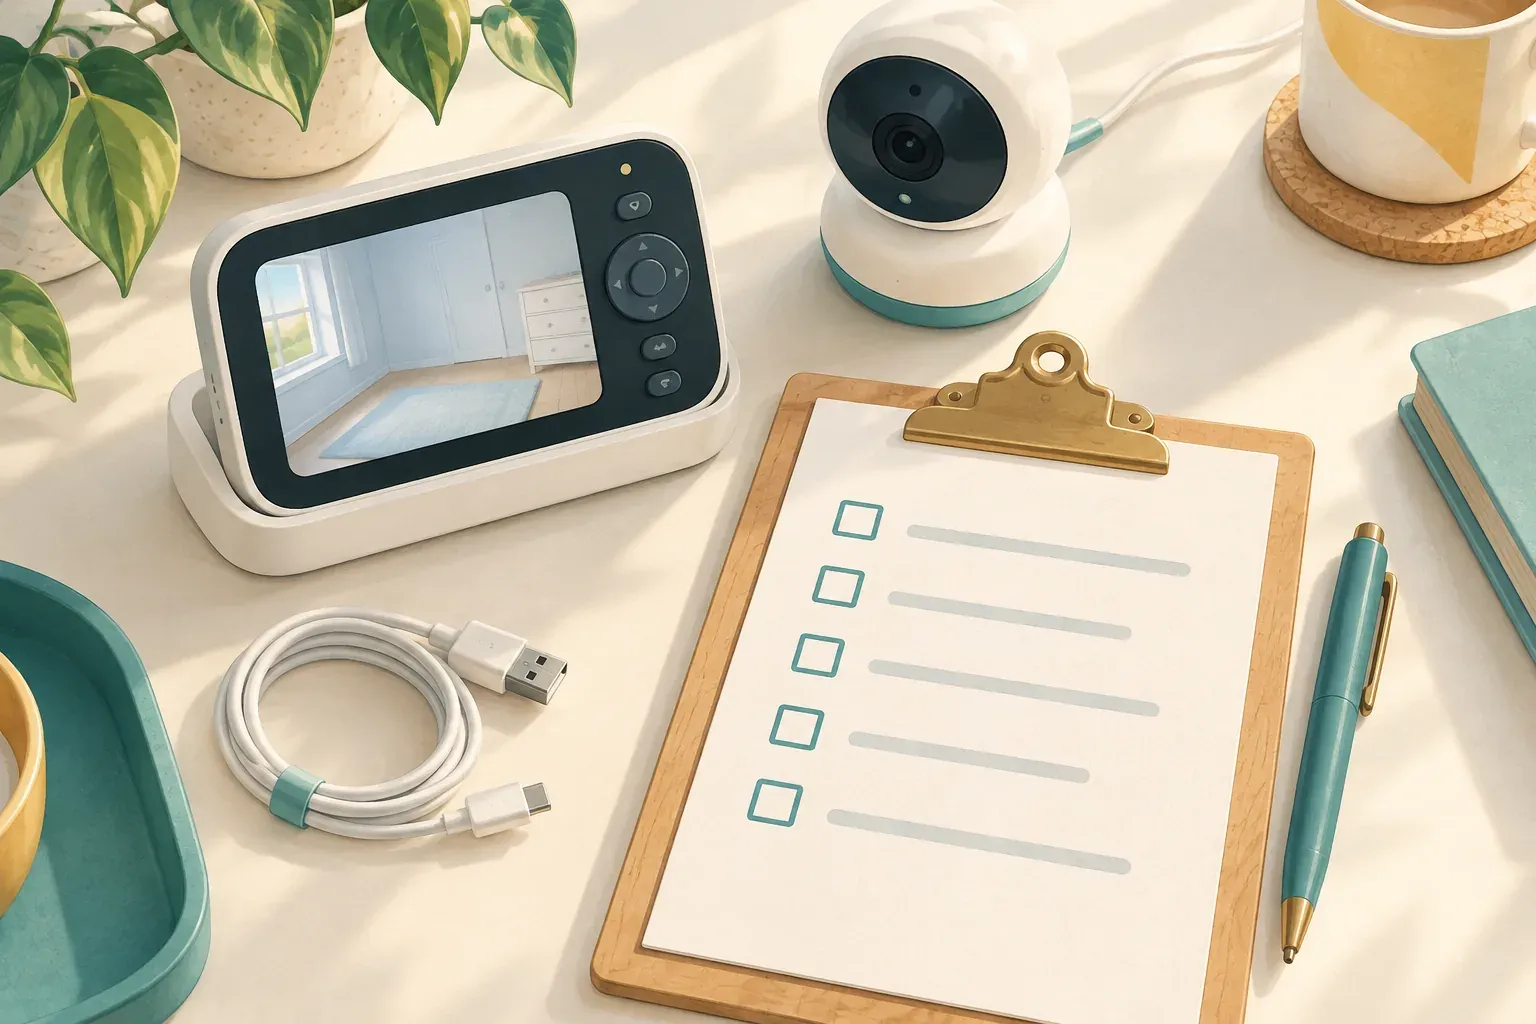
Use this checklist to organise setup before you depend on the kit for your routine. It helps you record what works in your home rather than treating an advertised range or a successful first pairing as the answer to every question. This is a setup guide, with no shopping picks or affiliate product offers.
Start with the exact kit and manual
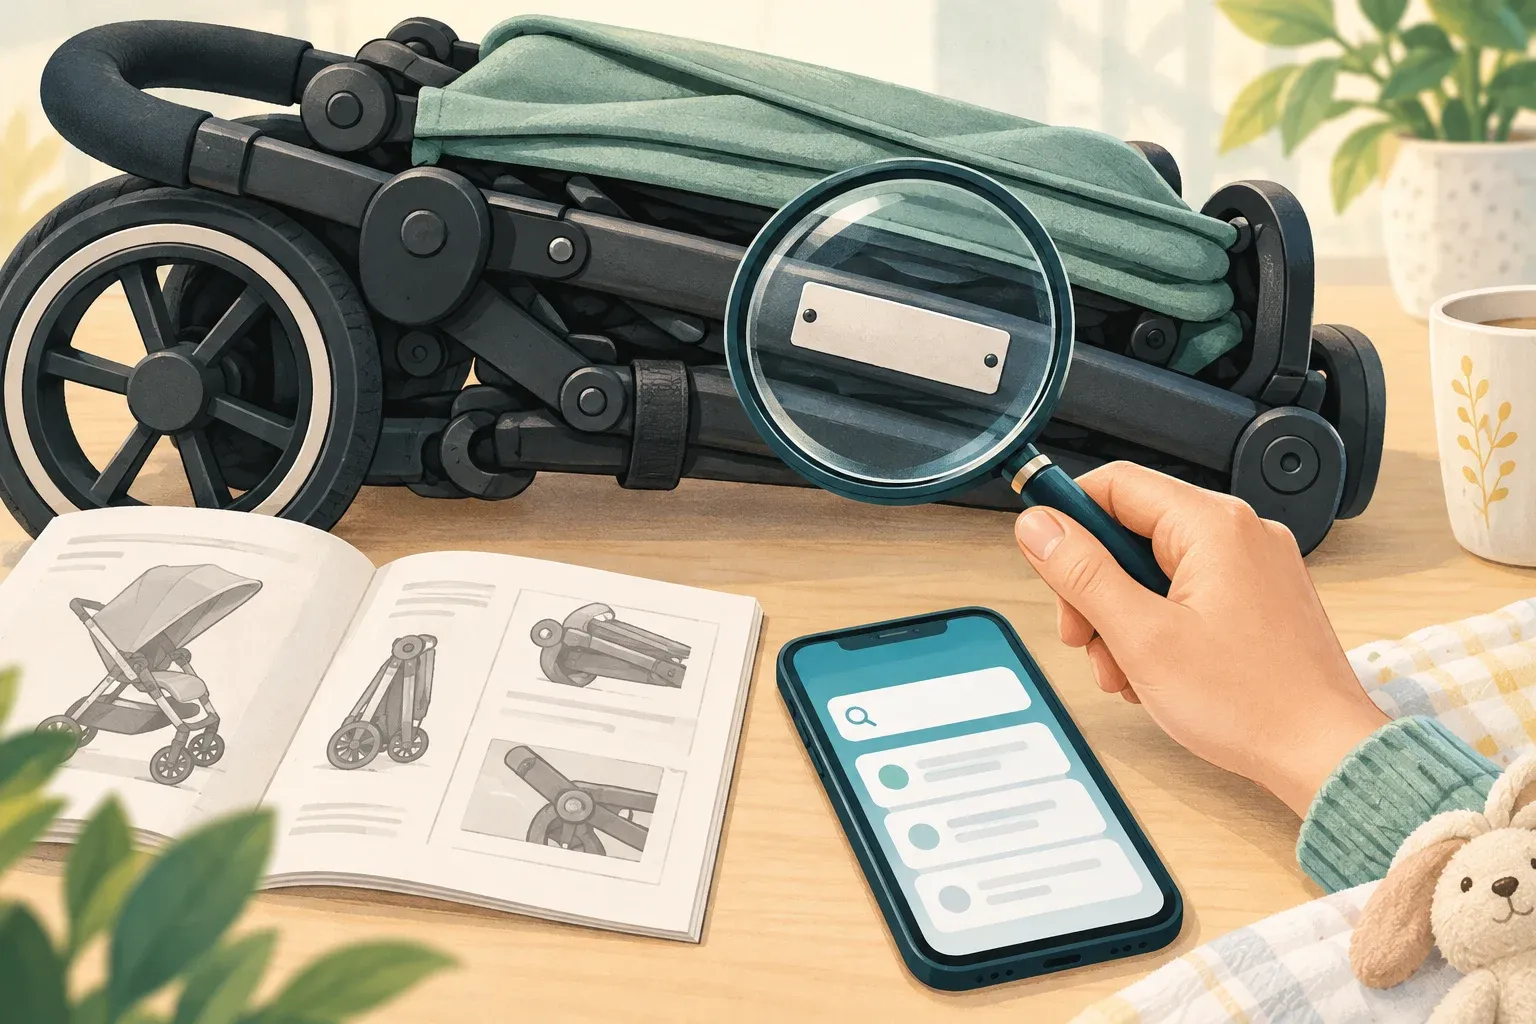
Write down the camera and parent-unit model numbers, then find the matching manufacturer manual. A similar product name does not establish that accessories, app instructions or batteries are interchangeable.
Check the kit contents against the manual. Keep the supplied power adapters identifiable, and use the charging equipment the manufacturer specifies. If a part is missing or the label does not match the instructions, ask the manufacturer before improvising a replacement.
Use the model and label details to check official recall records. This guide does not clear your individual kit of recalls.
Choose the position before testing the connection
The CPSC’s monitor-cord guidance directs caregivers to keep cords at least three feet from any part of the crib or other sleep space, out of reach, and never put a monitor inside or on a crib edge.
Start with a proposed off-crib location that meets that direction. Then check the applicable installation instructions and whether the view is useful from that location. Do not move a camera or cord into reach just to improve the picture or signal. If a supplied mount or instruction conflicts with the CPSC guidance, seek clarification rather than assuming that being included in the box settles the question.
The rest of this checklist concerns connection, settings and handover. It is not a substitute for installation instructions or direct caregiving.
Identify the route your video takes
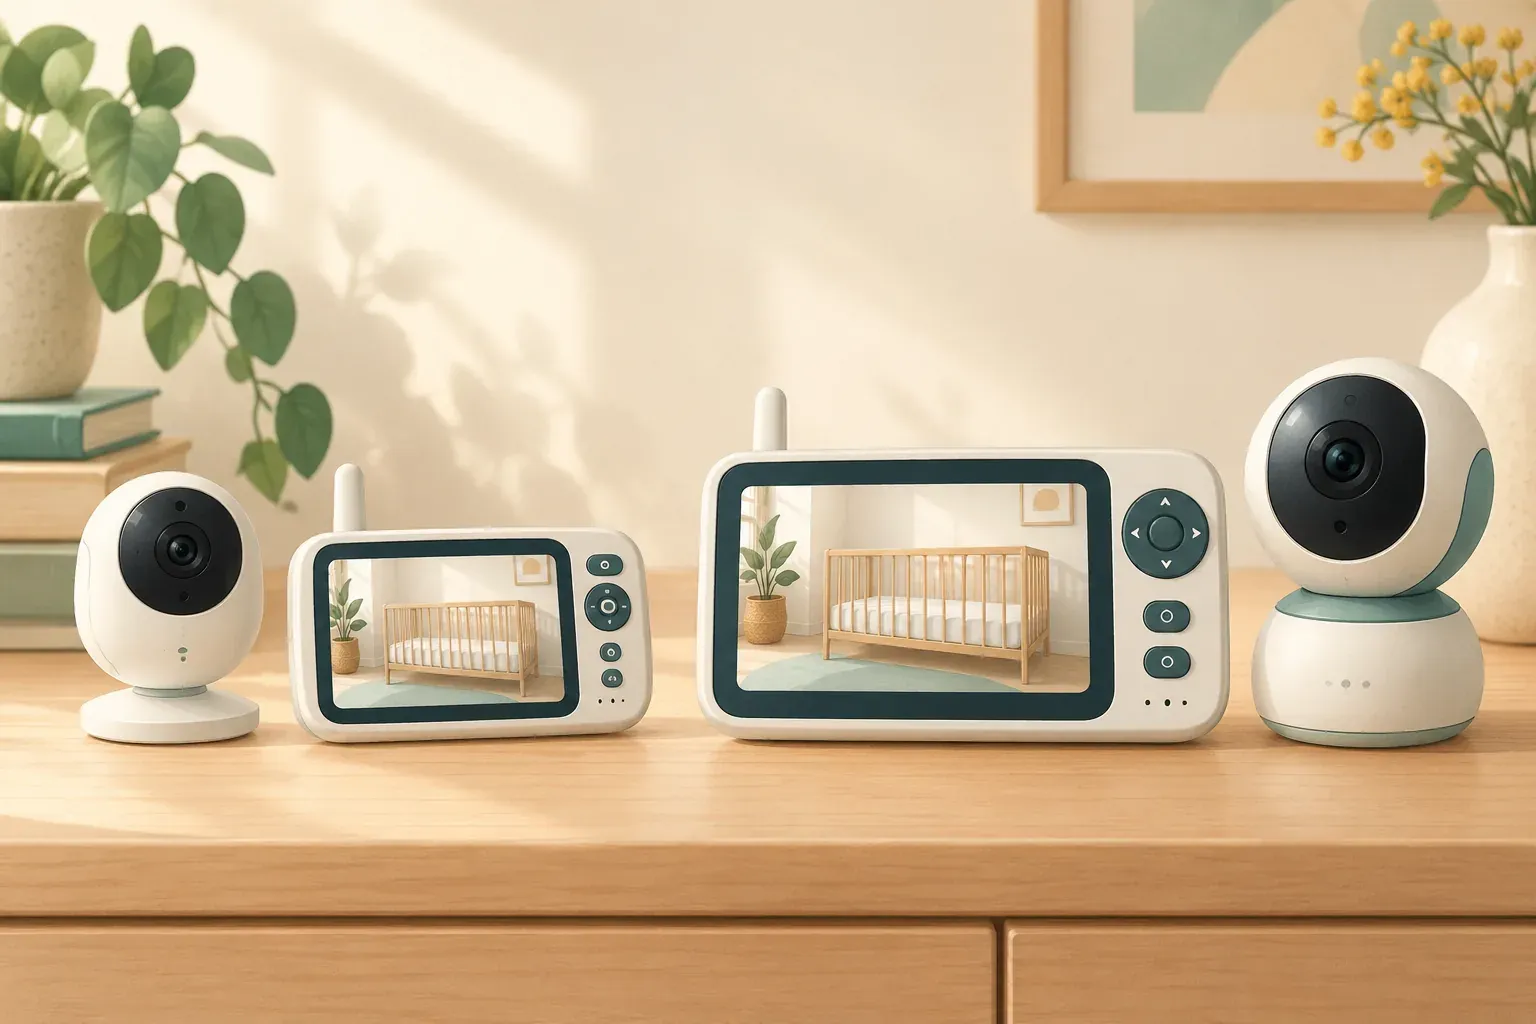
Look up the connection mode in your own manual. A dedicated screen, an app and a hybrid kit can involve different setup requirements.
| Viewing route | What to establish |
|---|---|
| Camera directly to a parent unit | How pairing works, where the connection indicator is, and what a lost link looks or sounds like. |
| Camera through a router to an app | The supported network, account requirements and the app’s indication of a live connection. |
| Hybrid kit | Which route is active, whether the screen can use Wi-Fi, and which functions change in local-only mode. |
These are questions to answer from your model’s documentation, not promises that every kit supports every route. For example, the E21 manual describes both direct viewing and a configured Wi-Fi fallback. It also says distance and interior walls can weaken the direct signal. A handheld screen alone therefore does not establish that this particular kit is staying off the router.
Make a simple room-by-room connection record
Once the kit is installed and paired according to its instructions, evaluate it in the places where you expect to use the viewing device. Arrange these checks while an adult can attend the room directly; do not make an equipment test your only way of checking on a child.
- Record a nearby baseline. Note the active connection mode, power state and screen settings when the viewing device is near the camera.
- Move only the viewing device. Leave the correctly positioned camera in place and check the rooms where you expect to carry the parent unit or phone.
- Check picture and audio separately. A picture appearing is not a record of how the audio behaves. Consult the manual for sound filters, volume and alert settings rather than assuming their behaviour.
- Record failures plainly. Note where the feed freezes, the link disappears or a warning appears. Change one documented setting or viewing location at a time so you can tell what helped.
This is an observation worksheet, not a laboratory range test. Do not turn a single successful check into a guarantee of future performance.
| Location and connection mode | Power and settings | What you observed | Follow-up needed |
|---|---|---|---|
| Nearby baseline | Your notes | Your notes | Your notes |
| Main viewing room | Your notes | Your notes | Your notes |
| Another room you actually use | Your notes | Your notes | Your notes |
Plan charging for each component
Check the camera and viewing device separately. A battery-life figure is incomplete without knowing which component it describes and whether its screen was on. Record where each device will charge and what its low-power indicator looks like.
The E21 manual, for example, gives separate camera and monitor charging instructions. Other kits may have different power arrangements. Read the matching instructions before assuming that a rechargeable viewing screen means the camera can operate unplugged.
If runtime is shorter than you expected, first record the affected component and its settings. Compare those conditions with the manufacturer’s stated conditions. Follow the manufacturer’s support procedure for a damaged battery or charging fault; this checklist does not cover battery repairs.
Prepare connected-camera accounts carefully
For an app-connected kit, the FTC recommends unique passwords, software updates, available account security features such as two-factor authentication, and careful control over who can access the livestream. Not every camera offers the same controls. Check what yours actually provides.
The FTC’s home-network guidance recommends WPA2 or WPA3 encryption, changing default network and router-admin credentials, and keeping router software current. Consult your router’s instructions before changing settings; this guide does not certify a network or camera as secure.
For handover, record who needs viewing access and how that access is granted or removed. Use separate viewer accounts or permission levels where the kit supports them, rather than assuming that every caregiver needs the owner’s administrator login. Keep passwords out of a printed worksheet left in a shared area.
Troubleshooting: separate the problem before changing things
| Observation | A useful next check |
|---|---|
| No picture even near the camera | Confirm both devices have power, then follow the exact model’s pairing instructions. |
| Nearby viewing works, but a usual room does not | Keep the camera in its appropriate position; compare viewing locations and consult the manual’s connection guidance. |
| Parent screen works but the app does not | Treat these as separate viewing routes. Check the account and network setup described by the maker. |
| A picture appears but you cannot tell whether it is current | Check the model’s live-connection indicator and any displayed timestamp; consult support if the status is unclear. |
| Battery endurance disappoints | Record the component, screen state and settings before comparing runtime claims. |
Avoid changing several settings at once or repeatedly factory-resetting a kit without understanding what the reset removes. If the documented setup cannot produce a usable connection in your intended location, contact support or consider the available return options.
Leave a short caregiver handover note
Keep the final note practical:
- The exact camera and parent-unit models, and where to find the manual.
- The viewing device normally used and how to recognise its connection status.
- The charging locations and low-power indicators.
- Any rooms or viewing positions where you observed a weak link.
- How an authorised caregiver gets access, and whom to contact when equipment does not work.
Review the note after a meaningful change, such as moving the camera, changing a router or updating the kit. If you are still deciding which viewing arrangement you want, our phone-versus-parent-screen comparison explains the buying trade-offs.
How we prepared this guide
This is a research-based guide by the Fresh Baby Gear Team, based on the official sources linked above and reviewed on October 14, 2026. We have not tested your equipment, its connection, or either kit in your home. The worksheet and troubleshooting sequence are our editorial way of organising those checks, not a manufacturer certification. The cover shows generic equipment.